

When I first started working with drills, “torque” felt like a mystery. But once I cracked it, everything about drilling—speed, control, and clean finishes—clicked into place. Here’s what I’ve learned, the simple way.
Drill torque is the twisting force a drill applies to a screw or material. Higher torque means stronger turning power for harder tasks, while lower torque gives more speed and control for lighter jobs. Understanding torque helps prevent stripped screws, broken bits, and wasted time.
If you’ve ever wondered why your drill struggles with some materials but glides through others, torque is the missing link. Let’s unpack it together in a way that’s easy to act on—no engineering degree required.
What does torque mean and how does it impact your tools?
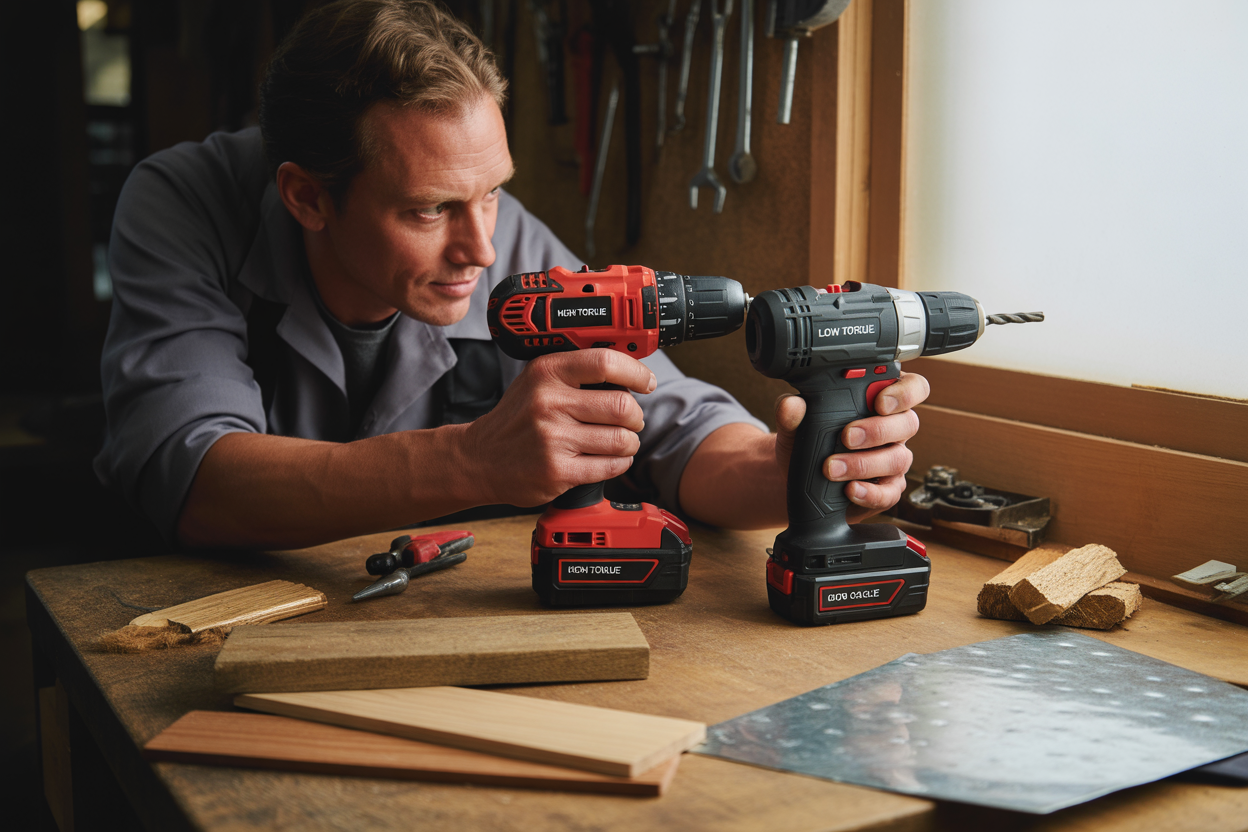
Torque sounds technical, but I think of it as “muscle.” It’s how strongly the drill can twist, which changes how it behaves on different materials.
Torque is the drill’s twisting force. High torque drills handle hard materials like metal or dense wood, while low torque drills work best for soft materials and faster drilling. Matching torque to the job gives cleaner results and extends tool life.
Diving deeper into torque
I still remember the first time I tried to drive a long screw into oak using a low-torque setting. The bit spun, the screw refused to go in, and I ended up with a stripped head. Torque, in practice, is the “grunt” behind the spin.
Here’s a simple way to picture it:
- High torque = slow but powerful, like a weightlifter moving heavy boxes.
- Low torque = fast but weaker, like a sprinter carrying a light bag.
Most cordless drills today have adjustable torque rings (sometimes called “clutch settings”). By choosing the right setting, you protect both your material and your drill.
| Torque Setting | Best Use Case |
|---|---|
| Low (1–6) | Softwood, small screws |
| Medium (7–12) | Plywood, general drilling |
| High (13+) | Dense wood, metal, large screws |
Once I started experimenting with these settings, my work looked cleaner and my bits lasted longer. It’s a small adjustment with a big payoff.
Check your drill’s manual—most brands show a torque range chart like this. If not, test on scrap material first before hitting the real workpiece.
How do I choose the right power drill?
It’s not about picking the flashiest model. It’s about choosing the drill that fits how you work.
Choose a drill by matching torque range, battery capacity, and weight to your typical tasks. For light DIY, a compact drill with moderate torque works. For heavy-duty work, pick one with higher torque, durable gears, and a comfortable grip.
Going beyond the spec sheet
I’ve learned to ask myself three quick questions before buying:
- What materials do I mostly drill? Wood, metal, concrete?
- How long do I need it to run? Short fixes or full-day projects?
- Do I need compact size or raw power?
When I bought my first cordless drill for YOUWE’s garden tool demos, I overestimated my needs and ended up with a heavy unit that tired my arm. Now, I test drills in my hand first. A lighter drill with slightly lower torque can outperform a heavier one if it feels natural to hold and use for hours.
Also look for CE certification, especially for European markets. It’s not just paperwork; it signals safety compliance and easier customs clearance.
What does higher torque do on a drill?
I used to think “more torque” meant “battery drill,” but it’s not that simple.
Higher torque gives a drill more twisting power for dense materials or larger screws. It reduces stalling and improves control at low speeds. However, it also adds weight and may require stronger bits to handle the stress.
The real story behind “more power”
Higher torque1 is perfect when you’re driving long screws into hardwood or using big hole saws on metal. It lets you work slowly but steadily without burning out the motor. But if you’re just hanging shelves in drywall, that extra torque can be overkill—making the drill heavier and draining batteries faster.
I’ve found a sweet spot: use high torque for the “heavy lifting” stage, then switch down for finishing touches. Many drills now have two-speed gearboxes2 plus torque rings, letting you fine-tune power. Test both speed and torque on scrap first—your materials (and wrists) will thank you.
What is the best drill bit for thick metal?
Even the strongest drill is useless without the right bit. This is where many people, including me once, go wrong.
For thick metal, use cobalt or carbide-tipped drill bits with a split-point design. These bits resist heat, cut faster, and reduce slipping. Always drill at low speed with cutting fluid to protect both bit and material.
My lessons from drilling steel
I once tried to use a regular HSS bit on 5 mm stainless steel. The bit overheated, dulled, and squealed like a violin. Cobalt bits changed everything—they stay sharp longer and handle heat better.
Here’s a quick guide I keep taped to my workshop wall:
| Material | Recommended Bit | Speed |
|---|---|---|
| Mild Steel | HSS or Cobalt | Medium |
| Stainless Steel | Cobalt or Carbide | Low |
| Cast Iron | Carbide | Low |
Use light pressure, add cutting oil, and let the bit do the work. This simple combo has saved me hours of frustration and a small fortune in broken bits.
Conclusion
Understanding torque isn’t about specs—it’s about feel. Once you match torque, drill, and bit to the task, your work gets cleaner, faster, and far less stressful.


One Response